English
 Español
 عربى
عربى

How UV Varnish Printing Builds Dimensional Texture on Film
Flat ink coverage and raised, tactile surface effects are produced by two different mechanisms, even though both start on the same substrate. Standard printing lays down a thin, uniform film of colorant that dries or cures to a consistent thickness across the whole sheet. uv varnish printing instead deposits a clear or pigmented resin in controlled, variable amounts, then hardens that resin almost instantly under ultraviolet light before it has a chance to flatten out. Because the resin keeps its shape while it cures, the printed area retains height, edge definition, and surface texture that a solvent-based or water-based coating simply cannot hold. This distinction is easy to feel by hand: run a finger across a conventionally coated glossy label and the surface is uniformly smooth, while a UV-textured area has clearly detectable ridges, edges, or grain that the eye picks up as a shift in reflection even before the hand confirms it.
On PET and similar polyester films, this matters because the base substrate is dimensionally stable but chemically inert to most conventional coatings. UV-curable formulations are engineered to bond mechanically and chemically to that inert surface within a fraction of a second of exposure, which is what makes multi-pass buildup possible. Each pass adds a thin shell on top of the last one, and because curing is near-instant, the film never has time to slump or spread before the next layer goes down.
| Layer Function | Typical Role in the Stack | Visual Contribution |
|---|---|---|
| Base flood coat | Seals substrate, evens out surface energy | Uniform gloss or matte foundation |
| Build-up layer | Adds measurable height in raised zones | Tactile relief, embossed feel |
| Texture layer | Introduces surface irregularity or pattern | Matte-gloss contrast, grain, marbling |
| Top seal coat | Protects lower layers, adjusts final sheen | Scratch resistance, depth perception |
The number of passes, the viscosity of each resin, and the curing dose between passes are the three variables that determine whether a finished sheet reads as a subtle spot-gloss accent or a strongly embossed, three-dimensional motif. Because the process is entirely additive and light-driven, it can be adjusted layer by layer without reworking the whole press setup, which is one of the reasons film converters favor it for short and mid-length decorative runs.
Why Gilded Effects Depend on Layer Sequencing, Not Just Metallic Ink
A common misconception is that a gilded appearance comes from a single metallic ink pass. In practice, the metallic look on a Gilded PET Heat Transfer Film is built from a sequence: a release layer, a reflective metallized layer, an adhesive layer, and then the UV varnish work that defines where the metallic image will actually appear once transferred. The varnish does not add the metal itself; it acts as a selective mask and a texture carrier that determines exactly which portions of the metallized layer release cleanly onto the receiving surface during transfer, and how those portions feel and reflect light once applied.
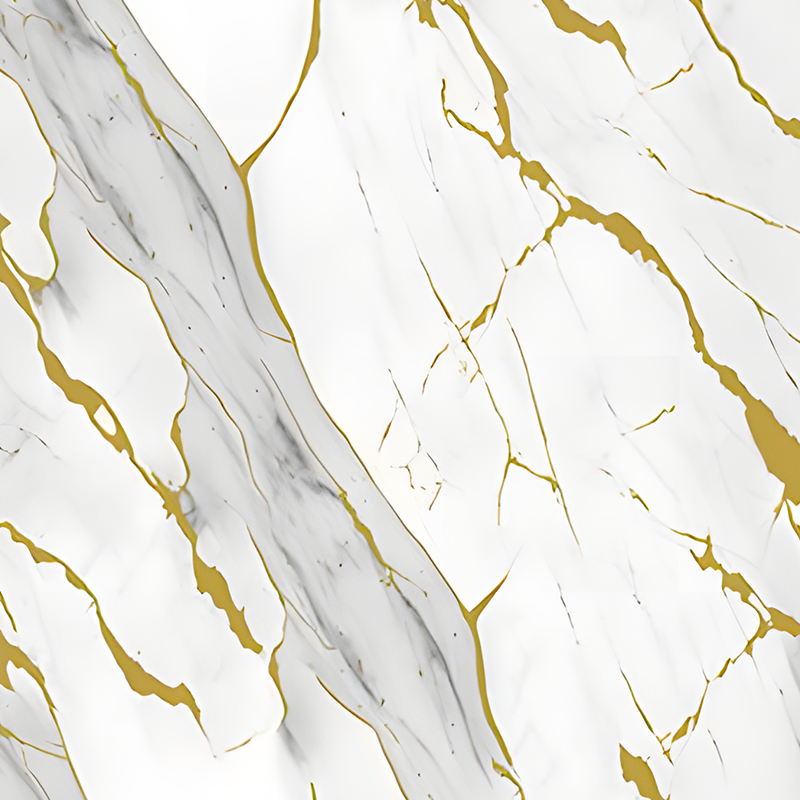
Because UV varnish cures with sharp edge definition, fine line work, small serif text, and intricate border patterns can be reproduced in the metallic layer with far less bleed than screen-based masking allows. This is particularly relevant for labels and packaging where a brand mark needs to read cleanly at both close inspection distance and shelf distance.
Registration accuracy between the metallized layer and the varnish mask is the single largest determinant of finished quality. Even a small shift causes a soft or doubled edge on the gilded pattern, which is visually far more noticeable on a reflective surface than it would be on a flat ink print, since light catches the misaligned edge and draws the eye directly to it.
Creating Marble and Organic Patterns Through Controlled UV Flow
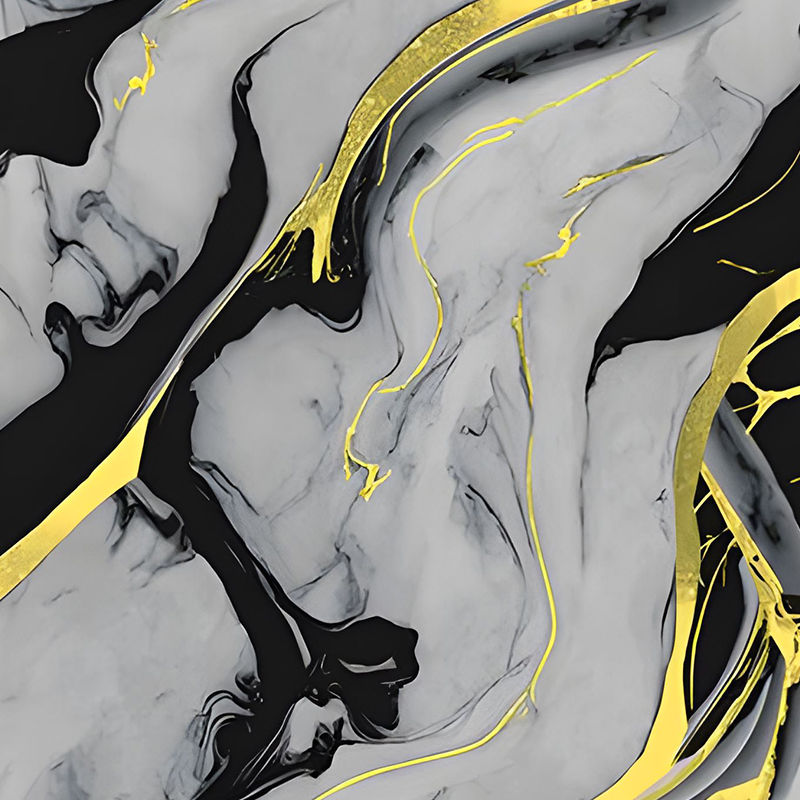
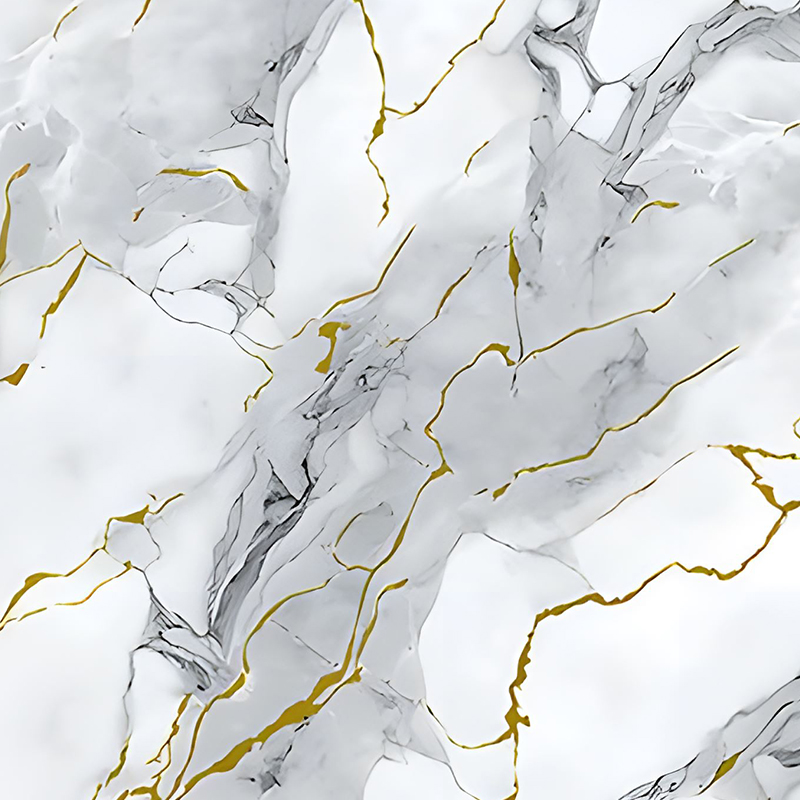
Marble-patterned UV printing relies on a brief window between when the resin is deposited and when the curing lamp locks it in place. During that window, adjacent wet deposits of differing viscosity or pigment load interact at their boundaries, producing the veined, irregular lines associated with natural stone. Curing the resin a fraction too early yields a flat, uniform surface with no veining; curing it too late allows the pattern to spread until it loses definition entirely. Getting a repeatable marbled result means holding that timing window steady across the whole run, not just on the first few sheets.
Because the effect depends on live interaction between wet layers rather than on a fixed screen or plate, no two marbled sheets are ever pixel-identical, which is generally seen as a strength for this style of decoration rather than a defect, since it mirrors the organic irregularity of natural stone that the pattern is meant to evoke.
Two practical levers control the pattern scale. First, the viscosity gap between the base color and the accent color: a wider gap produces sharper, thinner veining, while a narrower gap gives softer, broader swirls. Second, the deposit volume per pass: heavier deposits allow more time before gel point is reached, giving the pattern more room to develop before curing arrests it. Neither lever should be adjusted alone; changing viscosity without adjusting deposit volume typically shifts the pattern scale in an unpredictable direction rather than the intended one.
- Lower viscosity accent resin generally produces fine, thread-like veining
- Higher viscosity accent resin generally produces broad, cloud-like patches
- Ambient press temperature shifts the open-time window and should be logged per shift
- Line speed changes the dwell time between deposit and cure and needs re-calibration whenever it is adjusted
Matching UV Printer Capability to Film and Sticker Substrates
Not every UV-capable press is suited to film work. A uv printer for stickers or transfer film needs three characteristics that a general-purpose UV press for rigid substrates does not always have: precise film tension control, a curing system that will not heat-distort a thin flexible web, and a deposit system capable of laying down variable-height layers without dragging or smearing wet resin on subsequent passes.
| Requirement | Why It Matters on Film |
|---|---|
| Low-heat LED curing | Thin PET webs distort or shrink under high-heat mercury-vapor lamps |
| Closed-loop tension control | Uneven tension causes registration drift across a long run |
| Anti-static web handling | Static buildup on film attracts dust into wet resin before cure |
| Multi-pass head alignment | Layered relief effects require sub-millimeter repeat accuracy |
Film thickness also constrains what is achievable. Very thin films flex under the localized weight of a thick build-up layer, which can telegraph as a faint ripple on the reverse side once the roll is rewound under tension. Converters working with sub-25-micron PET typically cap total build-up height lower than they would on a heavier gauge film, then compensate visually with texture and gloss contrast rather than raw height.
Film handling, not resin chemistry, is usually the limiting factor in how ambitious a textured design can be on thin, flexible substrates.
Common Defects in UV Varnish Printing and How to Prevent Them
Most texture and gilding defects trace back to one of a small number of root causes, and identifying which one is at play early in a run saves considerably more material than adjusting settings by trial and error mid-shift.
| Defect | Likely Cause | Practical Fix |
|---|---|---|
| Soft or blurred edges on raised text | Cure dose too low or lamp distance drifted | Verify lamp output and re-set standoff distance |
| Cracking on flexed or folded areas | Build-up too thick relative to film flexibility | Reduce layer count or switch to a more flexible resin grade |
| Uneven gloss across a spot-varnish area | Inconsistent deposit thickness from the applicator | Recalibrate anilox or digital head deposit volume |
| Metallic layer lifting unevenly during transfer | Varnish mask under-cured or over-cured | Re-test cure window in small increments and hold it steady |
| Marbling pattern collapsing to flat color | Cure triggered before pattern had time to form | Extend open time slightly or slow line speed |
A useful discipline is to keep a short defect log tied to line speed, lamp output reading, and ambient temperature for every shift. Because UV cure response is sensitive to small environmental shifts, patterns that show up only on certain shifts or certain seasons are frequently traceable to temperature or humidity rather than to the press settings themselves.
Setting Practical Parameters for Glossy and Textured Finishes
Three settings do most of the work when a converter needs to move a job from a flat glossy finish toward a pronounced dimensional texture, or the reverse.
- Deposit volume per pass: controls how much material is available to build height before curing locks it in place
- Cure dose per pass: controls how quickly the resin sets, which in turn controls how much the deposit is allowed to level out before hardening
- Number of passes: controls cumulative height and allows different resin types to be layered for combined effects, such as a matte texture layer under a glossy seal coat
For a straightforward glossy finish with no texture, a single flood pass with a full cure dose and low deposit volume is generally sufficient. For a strongly dimensional or gilded texture, converters typically build up gradually across three to six passes, checking height and edge sharpness after each pass rather than attempting the full build in one deposit, since a single overly thick pass is far more prone to uneven curing through its full depth than several thinner passes cured in sequence. Checking after each pass also gives a production team the option to stop early if a lighter build already meets the target look, which avoids spending resin and press time on height the finished design does not actually need.
Where 3D and Gilded UV Textures Fit in Premium Packaging
Dimensional and metallic UV texture work is most commonly specified where a package or label needs to signal a higher tier within a product line without changing the underlying structural packaging. A textured logo, a gilded border, or a marbled accent panel gives a shelf-facing surface a tactile cue that a flat print cannot replicate, and that cue reads at a glance even before a shopper picks the item up.
As a premium packaging transfer foil, this kind of film is typically applied by heat and pressure transfer onto rigid or semi-rigid packaging substrates such as folding cartons, rigid boxes, or molded caps, rather than being used as the final visible surface itself. The UV varnish work on the film determines the transferred pattern in advance, which means design changes can be tested and approved on the film roll before a single unit of finished packaging is produced, reducing the risk of costly rework on the primary packaging material.
This separation between decoration and structure also gives brand teams more room to test variations. Because the texture and metallic pattern already exist on the transfer film before it ever meets a carton or bottle, a designer can compare several relief depths or pattern densities side by side on flat film samples, choose the one that photographs and handles best, and only then commit that choice to a full production run of finished packaging. That sequencing shortens the feedback loop between design and production compared with methods where the decorative effect can only be evaluated on the finished, assembled package.
- Spot-gilded borders on folding cartons for cosmetics and spirits packaging
- Textured brand marks on rigid gift boxes and presentation packaging
- Marbled accent panels on labels for beauty and personal care products
- Fine metallic line work on caps and closures where flat foil stamping alone lacks detail
Storing and Handling UV-Textured Film Before Conversion
Work does not stop once a roll comes off the press. A film with a pronounced textured or gilded surface is more sensitive to handling damage than a flat-printed roll, because raised areas concentrate pressure at contact points rather than spreading it evenly across the sheet. Stacking finished rolls incorrectly, or storing them in a space with wide temperature swings, is one of the more common ways a converter loses otherwise good material before it even reaches the transfer or laminating stage.
| Handling Factor | Recommended Practice |
|---|---|
| Roll orientation | Store upright on a core support rather than stacked flat |
| Ambient temperature | Keep within a stable range to avoid resin embrittlement or softening |
| Humidity exposure | Avoid high humidity storage that can affect release layer performance |
| Interleaving | Use a protective liner between wraps for heavily textured designs |
Lead time between printing and conversion also matters more for UV-textured film than for flat film. Because the cured resin continues to stabilize chemically for a short period after the initial cure, converters generally allow a brief rest period before running a heavily built-up roll through a transfer press, which reduces the chance of the texture shifting or the release characteristics changing mid-run.
Quality teams that work with this kind of film routinely keep a reference sample board of approved textures and gloss levels next to the inspection station, since visual comparison against a physical standard catches subtle drift in build height or pattern density far faster than measuring each roll from scratch against a written specification alone.
Frequently Asked Questions
Q1: What makes UV varnish different from a standard laminate or coating on film?
Standard coatings dry or cure slowly and settle into a flat, uniform layer. UV varnish cures within seconds under ultraviolet light, which freezes the resin in place before it has time to level out, allowing it to retain height, edges, and pattern that a conventional coating loses.
Q2: Can UV varnish texture be applied only to selected areas of a design, rather than the whole sheet?
Yes. Spot application is one of the most common uses, since selectively raising or texturing only a logo, border, or small motif creates contrast against the surrounding flat print and uses less resin than a full-sheet treatment.
Q3: Does a thicker varnish build-up always produce a better tactile effect?
Not necessarily. Beyond a certain height, added thickness increases the risk of cracking on flexed film and can slow curing through the full depth of the deposit. Most converters find a moderate build-up combined with sharp edge definition reads as more premium than excessive height alone.
Q4: How is a marbled pattern kept consistent across a long production run?
Consistency depends on holding the open time between deposit and cure steady, since that window is what allows the pattern to form. Line speed, lamp output, and ambient temperature all influence that window and need to be monitored together rather than individually.
Q5: What substrate properties should be checked before running a gilded texture job?
Film thickness, surface energy, and flatness under tension are the main factors. Thin or low surface-energy films may need a primer pass or adjusted cure dose to achieve reliable adhesion and consistent gloss across the full web width.
Q6: Is UV varnish printing suitable for short production runs, or only long runs?
It suits both, but for different reasons. Short runs benefit because layer settings can be adjusted digitally without new tooling, while long runs benefit from the process's consistent, repeatable cure behavior once parameters are locked in.