English
 Español
 عربى
عربى

Why Interior Trim Upgrades Are Gaining Momentum in the Automotive Aftermarket
Cabin refurbishment has quietly become one of the more active segments in the vehicle customization supply chain. Fleet operators looking to extend the service life of aging interiors, dealerships preparing used vehicles for resale, and workshops handling collision repair all share a common need: a way to renew worn or dated trim panels without replacing entire assemblies. Decorative transfer films paired with the right adhesive system answer that need directly, letting a dashboard, console, or door panel take on a new finish in a matter of hours rather than days.
Two material categories dominate this space. The first replicates natural textures such as wood grain, giving plastic or composite substrates a warmer, more premium appearance. The second introduces sculpted, tactile surface geometry through a molded 3D transfer process, often used where a more contemporary or technical look is preferred. Both rely on precision lamination and compatible bonding agents to hold up against the temperature swings, UV exposure, and repeated contact that define a vehicle cabin.
Wood Grain and 3D Texture Films: Two Distinct Approaches to Surface Renewal
Choosing between a grain-pattern film and a sculpted 3D film is largely a question of the visual language a project is aiming for, though substrate compatibility and forming behavior also play a role. The wood grain pet heat transfer film category is built around a PET carrier layer printed with high-resolution grain patterns, then heat-released onto the target surface to leave a thin, durable decorative layer that mimics the depth and variation of natural timber. This approach suits dashboards, steering wheel trim rings, console lids, and door cappings where a furniture-like finish is the goal.
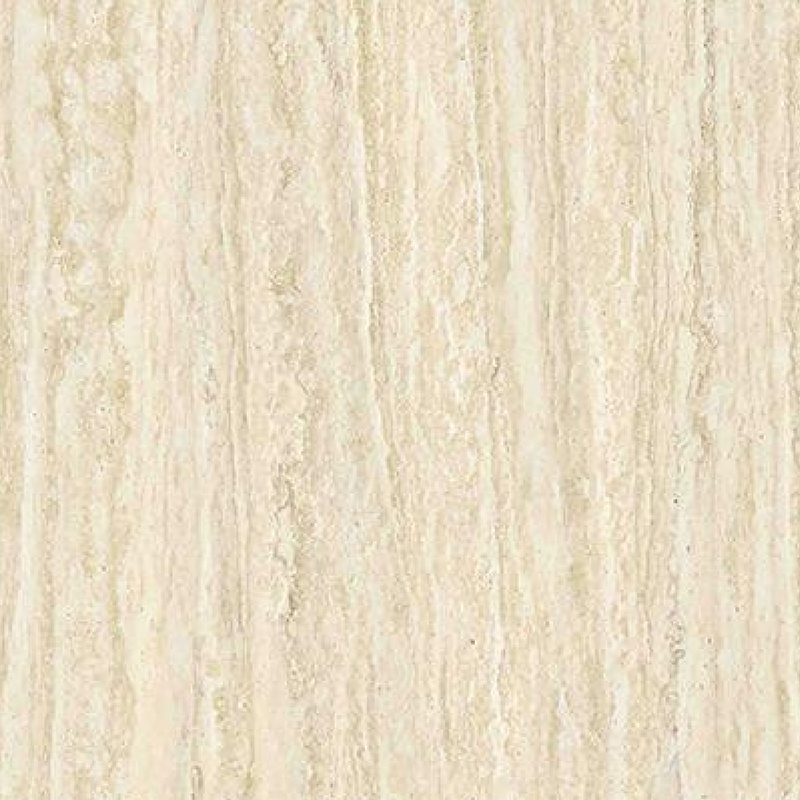
By contrast, the pet 3d transfer film family is engineered for surfaces that need actual dimensional texture, not just a printed pattern. A molded relief is transferred onto the substrate under heat and pressure, producing a tactile surface with raised or recessed detailing. This is often selected for accent strips, speaker grilles, shifter surrounds, and any component where touch as much as appearance matters.
| Attribute | Wood Grain PET Film | PET 3D Transfer Film |
|---|---|---|
| Surface Character | Printed grain pattern, flat texture | Molded relief, tactile texture |
| Typical Substrate | ABS, PP, MDF-composite panels | ABS, PC blends, injection-molded parts |
| Common Application | Dash inserts, console lids, cappings | Accent trim, grilles, shifter surrounds |
| Forming Method | Heat transfer release | Heat and pressure molding transfer |
| Visual Effect | Natural, warm, furniture-like | Contemporary, structured, technical |
Matching Car Trim Adhesive and Auto Molding Glue to the Substrate
A decorative film is only as good as the bond holding it in place, and this is where many interior renewal projects fall short. A car trim adhesive that performs well on a flat, low-stress panel may fail entirely on a curved console edge subjected to repeated flexing and vibration. Selecting the right bonding system means accounting for substrate porosity, expected cabin temperature range, and the geometry of the part being wrapped.
- Contact-type adhesives for large, flat panels where even pressure can be applied across the full surface
- Pressure-sensitive formulations for pre-coated films that need repositioning during initial placement
- Heat-activated bonding layers built into the film itself, common with pre-laminated wood grain and 3D transfer stocks
- Reinforced auto molding glue for edges, seams, and corner returns that see the most mechanical stress
Adhesive selection also intersects with long-term serviceability. An adhesive for auto trim that cures too rigidly can crack under thermal cycling, while one that stays too flexible may allow edge lifting over time. Workshops that handle high panel volumes typically standardize on two or three adhesive types rather than one universal product, matching each to a specific substrate and stress profile rather than forcing a single solution across every job.
A Step-by-Step Application Workflow for Interior Wrapping
Consistent results depend on sequence discipline more than on any single product choice. The following workflow reflects the order most shops follow when wrapping a dashboard insert or console panel with decorative transfer film.
- Remove the panel where possible and clean it thoroughly to eliminate oils, mold-release residue, and dust that would otherwise create bond weak points
- Dry-fit the film against the panel contour before any adhesive is engaged, marking overlap and trim allowances for curved edges
- Apply the adhesive system appropriate to the substrate, whether that is a pre-coated film backing or a separately applied bonding layer
- Use controlled heat and even pressure to activate the transfer and release the carrier layer, working from center to edge to avoid trapped air
- Trim excess material at seams and returns, then allow the recommended set time before reinstalling the panel into the vehicle
Surface Protection and Long-Term Durability Under Cabin Conditions
A vehicle interior is a demanding environment for any decorative surface. Direct sun through glass can push dashboard surface temperatures well above ambient outdoor readings, and repeated contact from hands, keys, and cleaning cloths creates abrasion that a purely cosmetic film would not survive. Durable lamination layers and UV-stable topcoats are what separate a film built for interior renewal from one intended for short-term signage or packaging use.
| Stress Factor | Typical Cabin Exposure | Film Design Response |
|---|---|---|
| UV and heat cycling | Sustained sun exposure through windshield glass | UV-resistant topcoat, heat-stable adhesive bond |
| Surface abrasion | Hand contact, cleaning wipes, key contact | Scratch-resistant surface layer |
| Humidity and moisture | Seasonal condensation, spills | Moisture-resistant adhesive formulation |
| Mechanical flexing | Panel movement at edges and seams | Flexible bond line at high-stress zones |
Surface Protection
Topcoat layers reduce visible wear from daily contact points such as console lids and door pulls.
Color Stability
UV-stable pigment systems limit fading in high-exposure zones like the dash top and rear shelf.
Bond Retention
Substrate-matched adhesive reduces edge lift after repeated temperature cycling.
Choosing Materials for Custom Dashboard Trim and Interior Styling
Interior styling decisions usually start with the panel's role in the cabin rather than with the film itself. A dash top facing direct sun exposure has different requirements than a lower console panel that mostly experiences hand contact and occasional spills. Matching the decorative material to that role prevents premature failure and keeps the finished result looking consistent across the cabin.
- High sun-exposure surfaces benefit from UV-stable topcoats regardless of whether a grain pattern or 3D texture is chosen
- Hand-contact zones such as shifter surrounds and door pulls need abrasion-resistant surface layers
- Curved or contoured parts perform better with films rated for deep-draw forming rather than flat-panel-only stock
- Panels requiring a warmer, natural look are well served by decorative wood grain film, while accent or technical-styled components lean toward molded texture options
Custom dashboard trim projects also benefit from planning color and texture consistency across adjoining panels early, since dash inserts, console lids, and door cappings are frequently viewed together in a single glance from the driver seat.
Common Installation Mistakes and How to Avoid Them
- Skipping degreasing before adhesive application, which is the leading cause of early edge lift on console and dash panels
- Applying heat too quickly across a large surface, trapping air pockets that later show as visible bubbles
- Using a single adhesive type across every substrate instead of matching bond chemistry to porous versus non-porous plastics
- Handling panels before the adhesive has reached full set time, which can shift the film before the bond stabilizes
- Overlooking edge sealing on cut trim lines, leaving an entry point for moisture and lifting over time
Frequently Asked Questions
Q1: What is the difference between a wood grain transfer film and a standard vinyl wrap?
A wood grain PET heat transfer film uses a printed carrier layer that is heat-released onto the panel, leaving a thin decorative layer, while a vinyl wrap is typically applied as a self-adhesive sheet installed over the existing surface without a release step.
Q2: Can 3D transfer film be applied to curved dashboard components?
Yes, provided the film is rated for deep-draw forming and the correct heat and pressure settings are used during transfer, since curved parts require more even heat distribution than flat panels.
Q3: How long does trim adhesive need to cure before the panel can be reinstalled?
Cure times vary by adhesive chemistry and cabin temperature, but most bonding systems require a defined set period before the panel should be handled or reinstalled to avoid shifting the film.
Q4: Does decorative film affect the surface durability of a dashboard over time?
Quality decorative films include UV-stable and abrasion-resistant topcoats specifically designed to withstand cabin conditions, so a properly installed film typically maintains its appearance through normal daily use.
Q5: Is a specialized adhesive required for auto trim, or can general-purpose adhesive be used?
General-purpose adhesive often lacks the flexibility and temperature resistance needed for interior trim, so a dedicated auto molding glue or trim-specific adhesive is recommended for reliable long-term bonding.